
If you cannot see which products, channels and campaigns make you money, every decision about ads and your store is a guess. GA4 ecommerce tracking fixes that by recording what shoppers view, add to basket and buy, with the order value attached.
This guide shows you how to set up GA4 ecommerce tracking on Shopify or WooCommerce, check the data is accurate, and connect it to Google Ads so your campaigns can learn from real sales.
What you need before you start
- A Google account you control, ideally a shared business login rather than a personal one.
- Admin access to your store (Shopify owner or staff with app permissions, or a WordPress administrator for WooCommerce).
- A cookie consent banner, or a plan to add one, that supports Google consent mode.
- Access to your Google Ads account if you advertise on Google.
Before adding anything, check whether GA4 is already installed. Many stores have an old theme snippet, an app and a Tag Manager container all sending the same events, which doubles your revenue in reports. Remove duplicates first.
Step 1: Create your GA4 property and web data stream
- Go to analytics.google.com and create an account for your business if you do not have one.
- Create a property. Set the reporting time zone to United Kingdom and the currency to British pound (GBP).
- Add a Web data stream with your store’s main domain. Leave enhanced measurement switched on, as it tracks page views, scrolls and site search with no extra work.
- Note your Measurement ID, which starts with G-. You will need it if you use a plugin or Tag Manager.
- In the property’s data retention settings, increase event data retention to the longest option available. The default is short, which limits how far back custom reports can go.
Step 2: Connect GA4 to your store
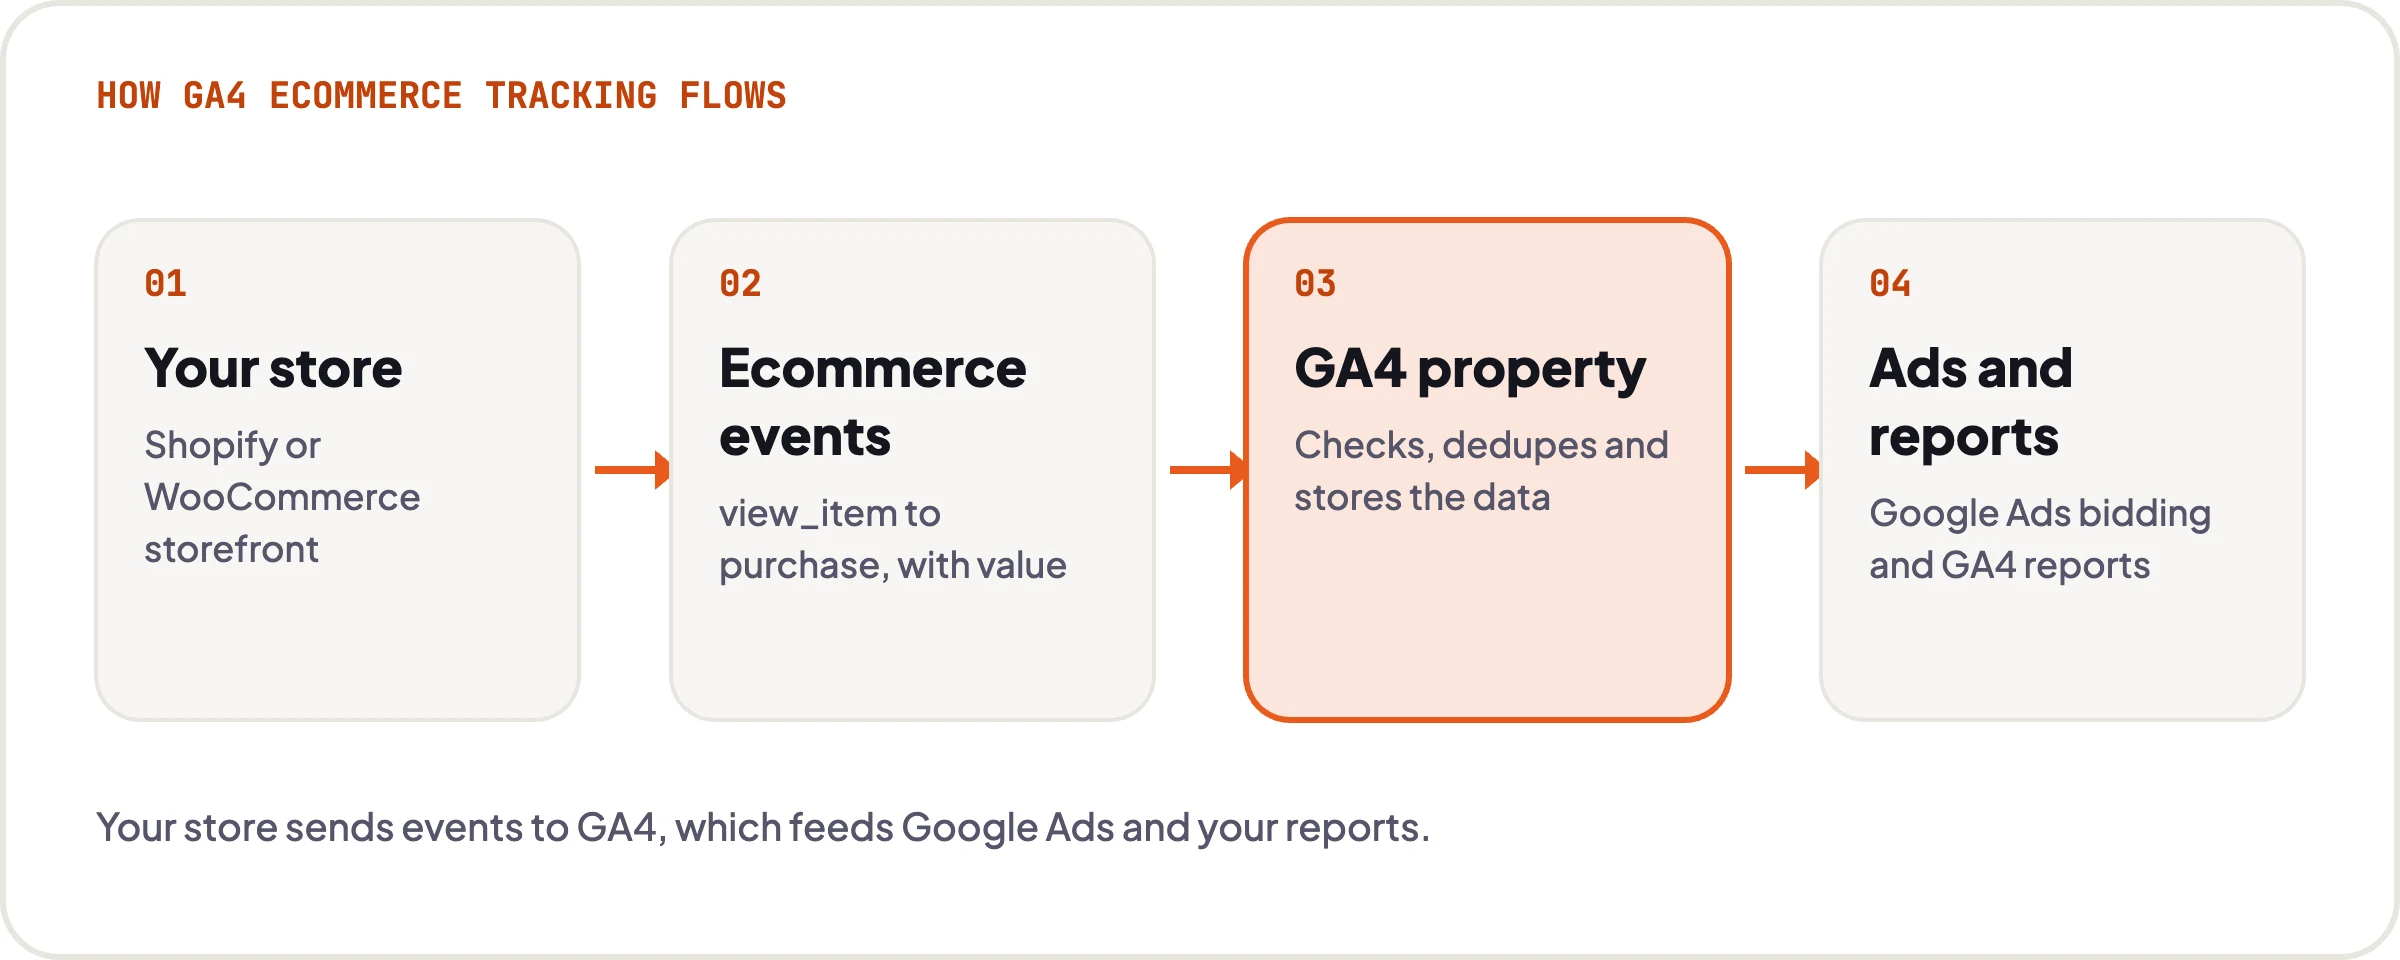
The aim is the same on every platform: your store sends ecommerce events to GA4 with product details and order values. How you get there depends on your platform.
Shopify
Install Google’s official Google & YouTube app from the Shopify App Store, sign in with your Google account and connect your GA4 property. The app sends the core ecommerce events for you, including view_item, add_to_cart, begin_checkout and purchase, and Google has been adding more, such as view_item_list, view_cart and remove_from_cart. Purchase events are now sent server-side, so they are less affected by ad blockers than events sent from the browser.
Once it is connected, remove any GA4 code pasted into your theme or old custom pixels, otherwise you will count events twice.
WooCommerce
You have two sensible routes:
- Google Analytics for WooCommerce: the free plugin from WooCommerce. Add your Measurement ID in its settings and it sends GA4 ecommerce events, including purchase. It is the quickest option. If you also want Merchant Center and Google Ads, the separate Google for WooCommerce plugin handles those.
- Google Tag Manager: more flexible and better if you want full control over events, consent and other tags. You will need a plugin or developer to push a proper ecommerce data layer, then build GA4 event tags in Tag Manager that read from it.
Pick one route only. Running the plugin and Tag Manager GA4 tags together is a common cause of duplicated purchases.
Step 3: Make sure the recommended ecommerce events are firing
GA4 has a set of recommended ecommerce events. Using Google’s exact names matters, because the built-in ecommerce reports only work with them. At a minimum you want:
- view_item when someone views a product page.
- add_to_cart when a product is added to the basket.
- begin_checkout when checkout starts.
- purchase when an order is completed.
Every event should include an items array (product ID, name, price, quantity) plus value and currency. The purchase event must also include a unique transaction_id, normally your order number. GA4 uses transaction_id to remove duplicate purchases, for example when a customer refreshes the order confirmation page.
Useful extras include view_item_list, view_cart, add_shipping_info and add_payment_info, which let you see exactly where people drop out of checkout.
Step 4: Set up consent mode v2 and your cookie banner
Under UK rules (PECR), you need consent before setting non-essential cookies, including advertising cookies. The Data (Use and Access) Act 2025 added an exemption for some analytics cookies used purely for statistics, but it does not cover advertising or cross-site tracking, and you still have to tell visitors what you collect. If GA4 is linked to Google Ads, treat it as needing consent unless you have had proper advice.
Google’s EU user consent policy also covers UK visitors. To keep using Google Ads measurement and remarketing for those users, you need consent mode v2. It passes four signals to Google tags: analytics_storage, ad_storage, ad_user_data and ad_personalization.
- Shopify: use Shopify’s customer privacy settings or a consent app that works with Shopify’s Customer Privacy API. Google’s app reads those consent choices.
- WooCommerce: use a consent management platform that supports Google consent mode v2, and make sure it loads before your Google tags.
Test both choices. When a visitor declines, GA4 should receive cookieless pings only. When they accept, full tracking should start without a page reload.
Step 5: Check your data with Realtime and DebugView
- Open GA4’s Realtime report, then visit your store in another browser window, accept cookies, view a product and add it to your basket. You should see the events appear within a minute or so.
- For more detail, use Google Tag Assistant to put your browser in debug mode, then open DebugView in GA4’s admin. Click each event to check the parameters: items, value, currency and, for purchases, transaction_id.
- Place a real test order with a discount code or a low-priced product, then refund it. Confirm one purchase event with the correct value and order number.
Standard reports can take a day or so to fill, so do not panic if the ecommerce reports look empty straight after setup.
Step 6: Mark your key events
Key events are what GA4 used to call conversions. In GA4’s admin, open the events list and mark the actions that matter to your business as key events. Purchase is usually marked as a key event already. You might add begin_checkout or a newsletter sign-up as secondary signals, but keep the list short so reports stay clear.
Step 7: Link GA4 to Google Ads
- In GA4’s admin, find the product links section and link your Google Ads account. Leave personalised advertising on if your consent setup supports it.
- In Google Ads, open your conversion settings and import the GA4 purchase key event, or confirm it has been imported.
- Decide which purchase conversion Google Ads should optimise for. If the Google & YouTube app or Google for WooCommerce has already created a native Google Ads purchase conversion, keep that as primary and set the GA4 import as secondary. Two primary purchase conversions means every sale is counted twice and bidding goes wrong.
Linking also brings Google Ads cost and click data into GA4, so you can compare paid search with other channels. For campaign set-up, see our guide on how to create a Google Shopping campaign.
Step 8: Tag your Meta ads with UTMs
GA4 cannot see which Meta campaign sent a visitor unless you tell it. In Meta Ads Manager, add URL parameters at ad level. A simple, consistent set works well:
utm_source=facebook&utm_medium=paid_social&utm_campaign={{campaign.name}}&utm_content={{ad.name}}
Meta fills in the parts in curly brackets with your campaign and ad names automatically. Using a medium starting with “paid” lets GA4 put this traffic into its Paid Social channel. Use the same lowercase values everywhere, as GA4 treats “Facebook” and “facebook” as different sources.
GA4 and Meta will never agree exactly, because Meta counts view-through and cross-device conversions that GA4 does not. Use GA4 to compare channels and Meta’s own reporting, backed by the pixel and Conversions API, to optimise inside Meta. Our guide to installing the Meta pixel and Conversions API on Shopify covers that side.
Step 9: Compare GA4 revenue with your store’s revenue
Once a few weeks of data are in, compare GA4 purchase revenue with your Shopify or WooCommerce sales report for the same dates. Expect some gap. Common reasons are:
- Visitors who declined cookies or use ad blockers.
- Tax and shipping being included in one figure and not the other.
- Refunds, cancellations, draft orders and phone orders, which GA4 may not see.
- Time zone differences between GA4 and your store.
Check order counts, not just revenue. If GA4 shows more purchases than your store, you almost certainly have duplicate tracking. If it shows far fewer, look at your consent banner and checkout tracking first.
Track the gap month to month. A sudden change usually means something broke, such as a theme update, a new app or a checkout change.
Common mistakes to avoid
- Installing GA4 twice, through an app and theme code or a plugin and Tag Manager.
- Sending purchase events without transaction_id, value or currency.
- Using custom event names such as “bought” instead of GA4’s recommended names.
- Firing Google tags before the cookie banner has loaded, or ignoring consent mode v2.
- Setting both a native Google Ads conversion and an imported GA4 purchase as primary.
- Running Meta ads without UTM parameters, so the traffic shows as referral or direct.
- Never checking GA4 against store revenue, so broken tracking goes unnoticed for months.
Let us do it for you
Want tracking you can actually trust?
We set up and audit GA4, consent mode, Google Ads conversions and Meta tracking for UK ecommerce brands, then use that data to grow sales. Flat monthly fees, no long contracts, and you own every account.