
If you run Facebook or Instagram ads for a Shopify store, the quality of your tracking decides how well Meta can find buyers for you. Weak or broken tracking means Meta optimises on partial data, reports fewer sales than you actually make, and spends your budget less efficiently.
This guide shows you how to set up the Meta pixel and the Meta Conversions API on Shopify using the official app, how to handle consent for UK shoppers, and how to check that everything is firing correctly before you rely on it.
Why you need both the pixel and the Conversions API
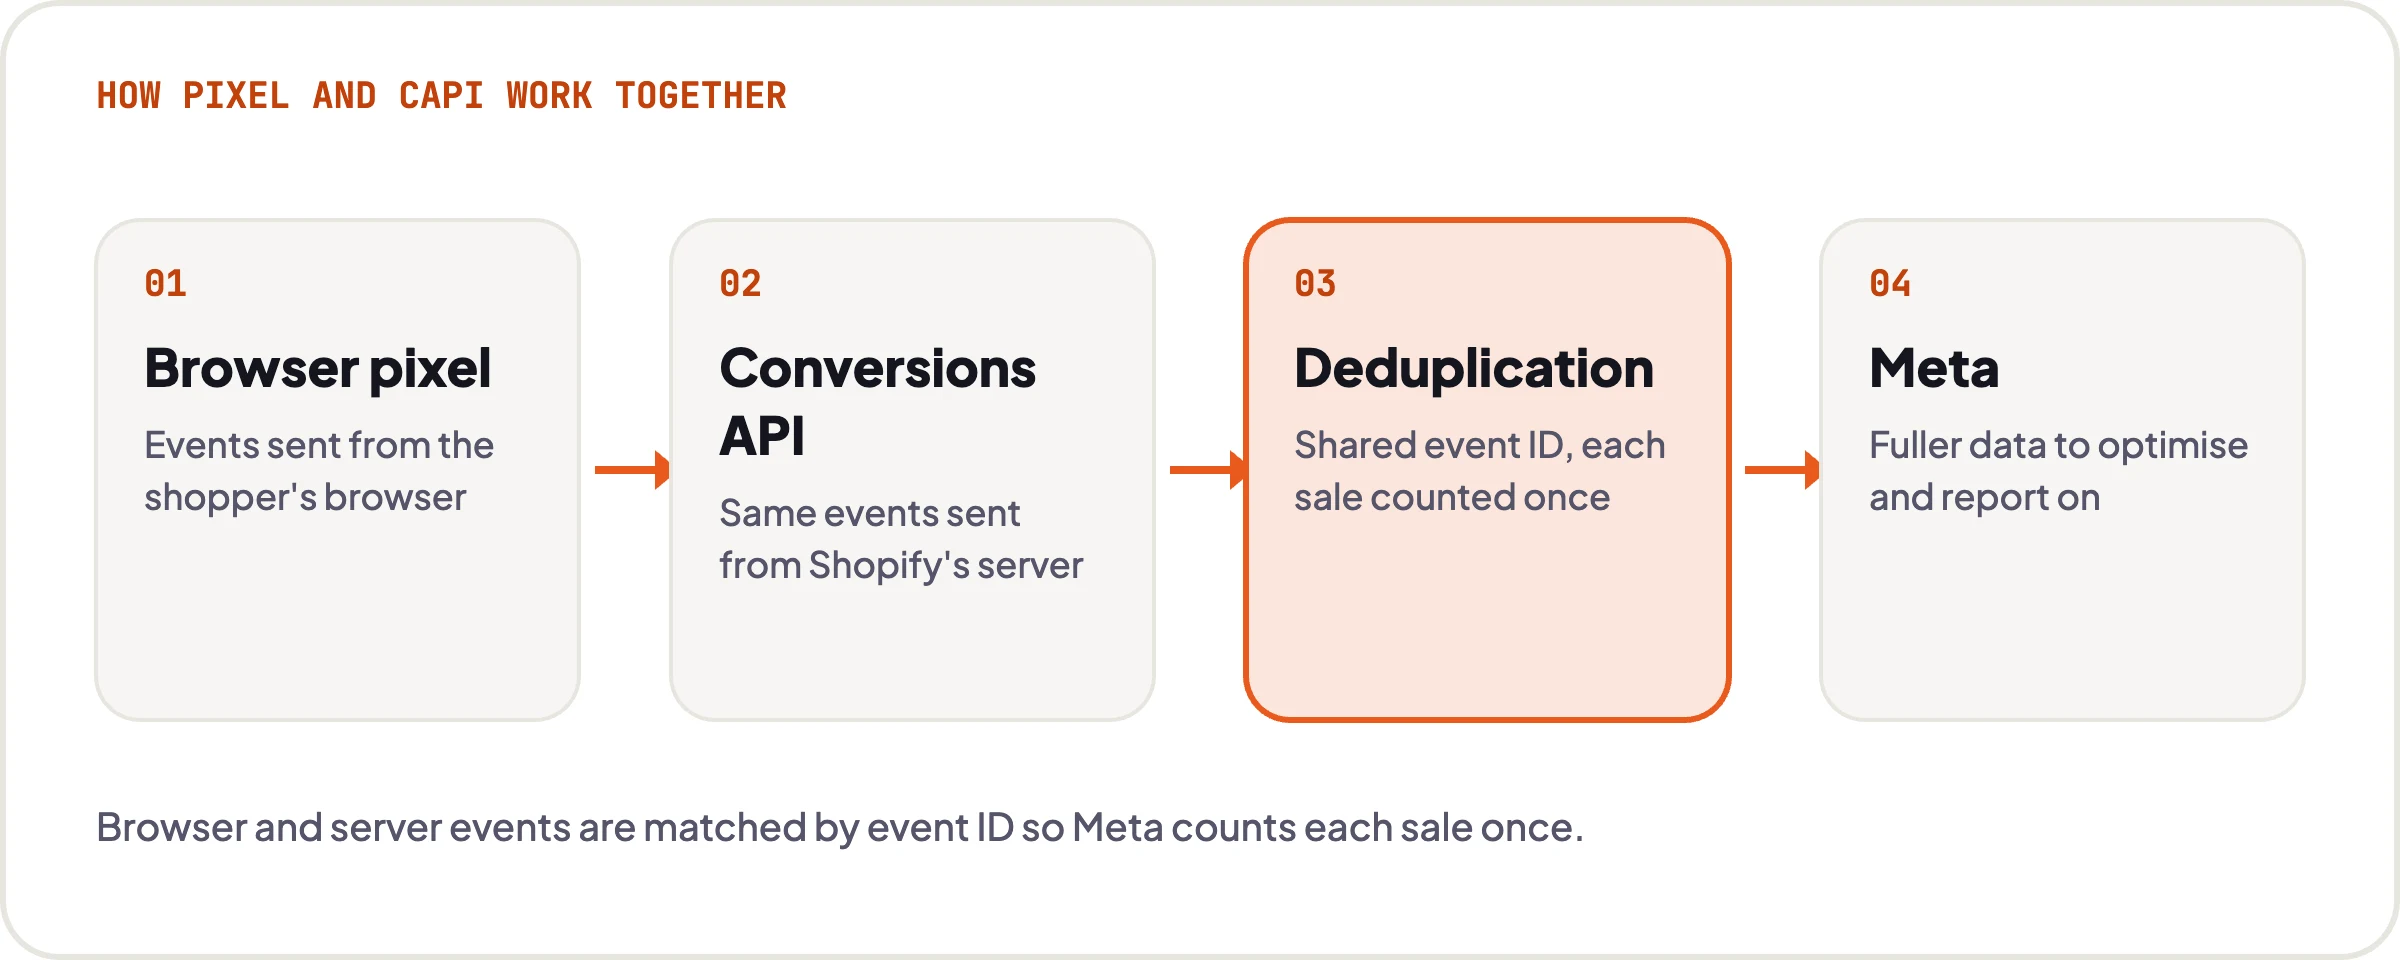
The Meta pixel runs in your visitor’s browser. It records actions like viewing a product, adding to basket and purchasing, then sends them to Meta. The problem is that browsers, ad blockers and privacy settings can stop it from firing or limit what it sends.
The Conversions API (often shortened to CAPI) sends the same events from the server instead of the browser. Ad blockers cannot block it, so Meta receives events the pixel misses.
Running both gives Meta the most complete picture. Because the same purchase can arrive twice, once from the browser and once from the server, Meta uses a shared event ID to recognise duplicates and count each sale only once. This is called deduplication, and the official Shopify app handles it for you when it is set up correctly.
What you need before you start
- A Meta business portfolio (previously called Business Manager) at business.facebook.com, owned by you.
- A Facebook Page for your brand and, ideally, your Instagram account connected to it.
- An ad account inside your business portfolio.
- A dataset in Events Manager. Meta now calls the pixel a dataset, because it can hold website, app and offline events together. If you already have one, use it rather than creating another.
- Staff or owner access to your Shopify admin, with permission to install apps and edit sales channels.
If an old agency or freelancer created your pixel inside their own business portfolio, ask them to transfer it or share it to yours before you start. You want the dataset to live in an account you own.
Step 1: Remove old pixel code and duplicate apps
Do this first. The most common cause of messy Meta data on Shopify is the pixel being installed more than once.
- In your Shopify admin, open Online Store → Themes, then edit the code of your live theme. Search the theme files, especially theme.liquid, for “fbq” or “connect.facebook.net”. If you find pixel code pasted in by hand, remove it (make a copy of the theme first).
- Check for old pixel snippets in the “additional scripts” area of checkout settings if your store is old enough to have used it. Shopify has been retiring this in favour of its customer events system, so anything left there should be cleaned up.
- Open Settings → Customer events and look for any custom pixels that send Meta events. Remove them if the official app will replace them.
- Review your installed apps. Uninstall or disable any third-party Facebook pixel or tracking apps you no longer need, unless you have deliberately chosen one to replace the official app.
Step 2: Install the Facebook & Instagram app by Meta
- In the Shopify App Store, search for Facebook & Instagram and install the app published by Meta. It adds Facebook & Instagram as a sales channel in your admin.
- Open the sales channel and start the set-up. Log in with the Facebook account that has admin access to your business portfolio.
- Connect the right assets when prompted: your business portfolio, Facebook Page, ad account, and Instagram account if you use it.
- When asked about the pixel or dataset, choose your existing one. Only create a new one if you genuinely have none.
- Accept the terms and finish the connection.
The app can also sync your product catalogue to Meta, which you will need for catalogue ads and shopping features. That is a separate topic, but it is worth turning on while you are here.
Step 3: Set data sharing to Maximum
The app offers different data sharing levels. In broad terms:
- Standard uses the browser pixel only, so ad blockers can stop events.
- Enhanced adds the Conversions API, so key events are sent server to server, along with customer information used for matching.
- Maximum also uses the pixel and Conversions API, and is the level Meta updates with its latest advertising technology.
To change it, go to Sales channels → Facebook & Instagram → Settings, open the data sharing settings, make sure customer data sharing is on, and choose Maximum. Confirm the correct dataset is connected.
The customer information shared (such as email, phone number, name and location) is hashed before Meta uses it for matching. You still need to explain this in your privacy policy, which brings us to consent.
Step 4: Set up customer privacy and consent for UK shoppers
Under UK GDPR and the UK’s cookie rules (PECR), you generally need consent before setting non-essential cookies, including advertising and marketing tracking. This is not legal advice, but in practice it means most UK stores need a proper cookie banner.
- In your Shopify admin, open Settings → Customer privacy. Review the cookie banner settings and make sure the banner is shown to visitors in the UK and EEA.
- If you use a third-party consent app instead, check that it passes consent to Shopify’s customer privacy system. Otherwise, apps that rely on Shopify’s consent signals may not behave as you expect.
- Update your privacy policy to explain that you share data with Meta for advertising and measurement. Shopify offers a privacy policy generator you can start from.
When a shopper declines marketing cookies, you will see fewer events in Meta. That is expected and correct. Server-side tracking is not a way around consent, it is a way to send consented data more reliably.
Test your banner in a private browser window from the UK. Accept and decline in separate sessions so you can see how each choice affects the events reaching Meta.
Step 5: Verify your domain
Domain verification proves to Meta that you own your website. Meta no longer requires it for configuring conversion events, but it is still worth doing. It lets you control who can edit link previews for your site and stops other businesses from claiming your domain.
- In your business portfolio, open Settings and find Domains, which sits in the brand safety area. Meta moves this occasionally, so the exact location may differ slightly.
- Add your root domain, for example yourstore.co.uk, not a www or myshopify address.
- Use the meta-tag or DNS method. On Shopify, the meta tag goes in the head section of theme.liquid. If your domain is managed elsewhere, a DNS TXT record is usually cleaner because it survives theme changes.
- Return to Meta and click verify. DNS changes can take a while to show.
Step 6: Test your events in Events Manager
Never assume tracking works because the app says it is connected. Check it.
- In Events Manager, open your dataset and go to the Test events tab.
- Enter your store URL, open the site from there, and accept cookies on the banner.
- Browse a product, add it to the basket, start checkout and, if you can, place a real order or use a discount code to make a cheap test purchase.
- Watch the events arrive. You should see PageView, ViewContent, AddToCart, InitiateCheckout and Purchase. Where both browser and server versions arrive, Meta should show them as deduplicated rather than counted twice.
Then check the Overview over the next few days. Look at whether events are received from both the browser and the server, and check the diagnostics section for warnings.
Step 7: Check event match quality and deduplication
Event match quality is a score Meta shows for each event, from 0 to 10. It reflects how well the customer information sent with an event can be matched to people on Facebook and Instagram. Higher is better. Purchase events usually score highest, because email and phone number are available at checkout.
If your scores are low, check that data sharing is set to Maximum and that customer data sharing is switched on. Encouraging shoppers to log in or enter their email early in checkout also helps.
For deduplication, Events Manager shows whether events from the browser and server share an event ID. If you see purchases roughly doubling compared with your Shopify orders, deduplication is failing, and the usual cause is a second pixel installed outside the official app.
A note on aggregated event measurement
You may see older guides telling you to rank eight conversion events in priority order. Meta has dropped that requirement, and the aggregated event measurement tab has gone from most accounts. Meta still applies its own privacy protections to iOS traffic behind the scenes, but there is nothing for you to configure. If a guide asks you to prioritise events, it is out of date.
Common mistakes to avoid
- Leaving hard-coded pixel code in the theme while also using the official app, which causes duplicate events.
- Running two tracking apps that both send Meta events to the same dataset.
- Creating a new dataset when one with months of data already exists.
- Leaving data sharing on Standard, so no Conversions API events are sent.
- Skipping the cookie banner, or using one that does not pass consent signals to Shopify.
- Not comparing Meta’s reported purchases with your Shopify orders after the first week.
Once your tracking is in place, you are ready to build campaigns. Our guide on how to set up Meta Ads for an online store covers the next steps. It is also worth setting up GA4 ecommerce tracking so you have an independent view of performance outside Meta.
Let us do it for you
Want your Meta tracking checked and fixed properly?
We set up and audit the Meta pixel and Conversions API for UK ecommerce brands, then build and manage campaigns that use that data well. Flat monthly fees, no long contracts, and you own every account.